I wanted to design and build a pair of high quality floor-standing hi-fi loudspeakers, in a more unusual shape than the traditional oblong box. I based my design broadly on Paul Carmody's Tarkus speakers, which he voiced specifically for rock music.
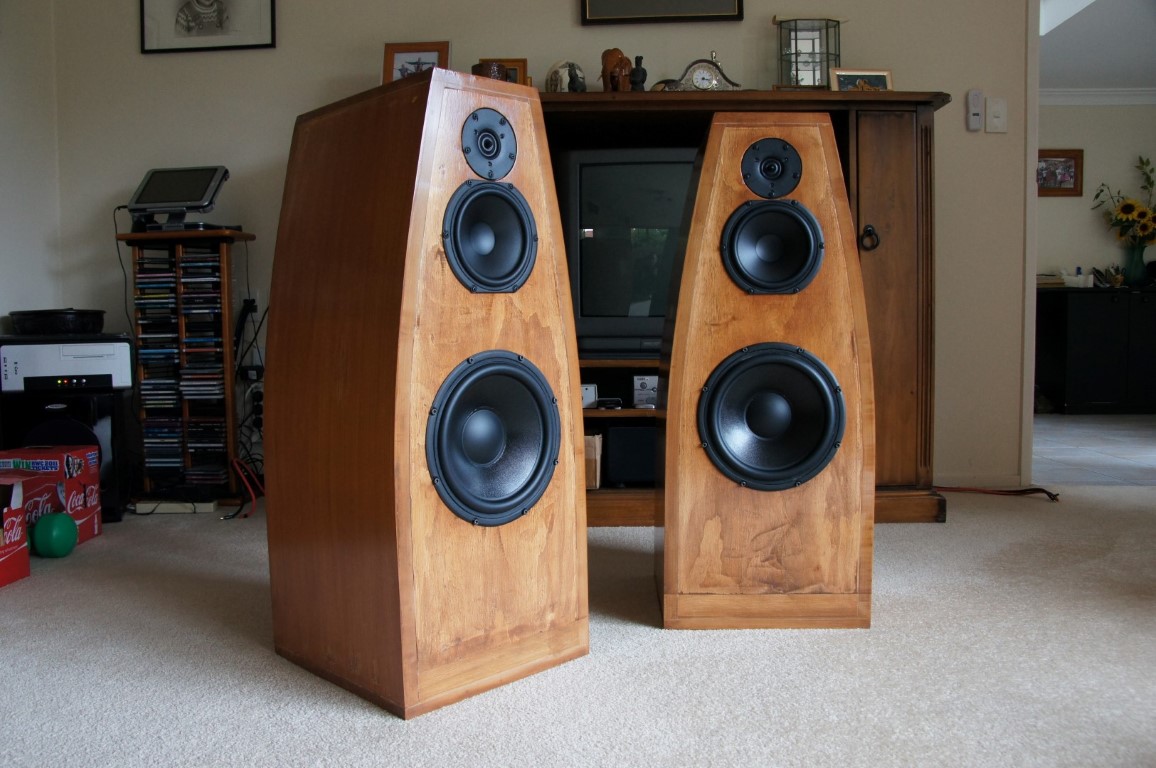
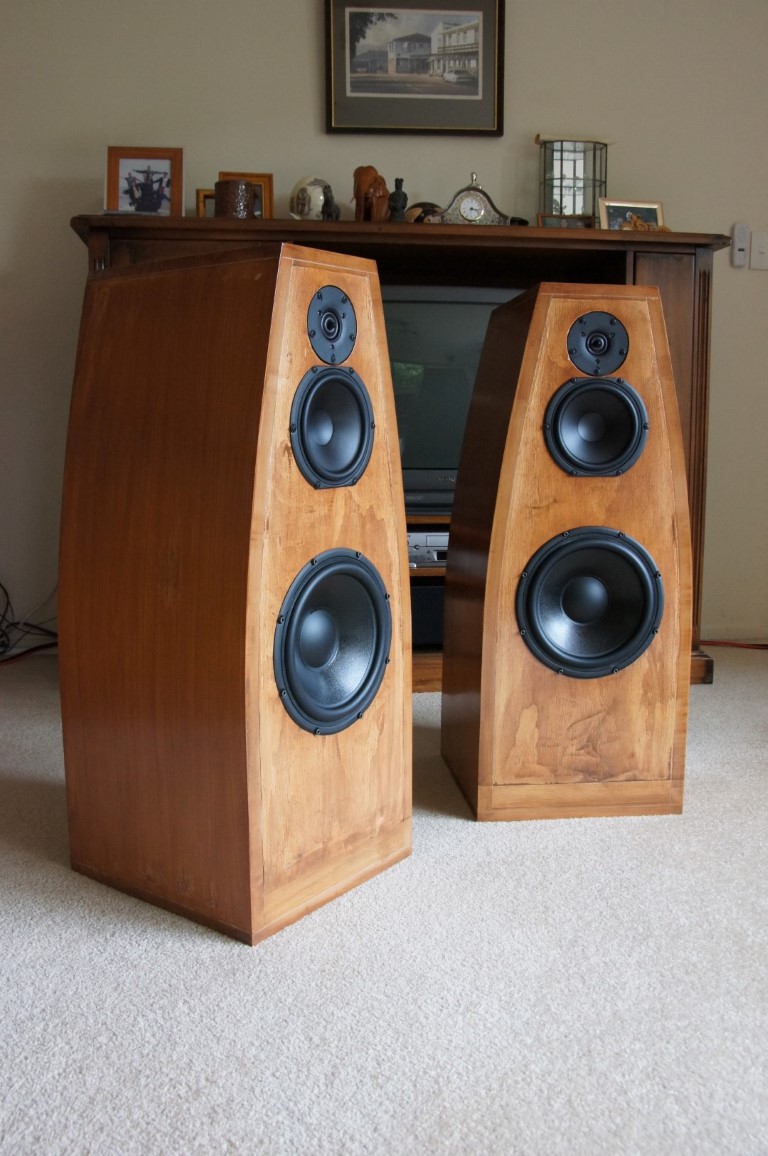
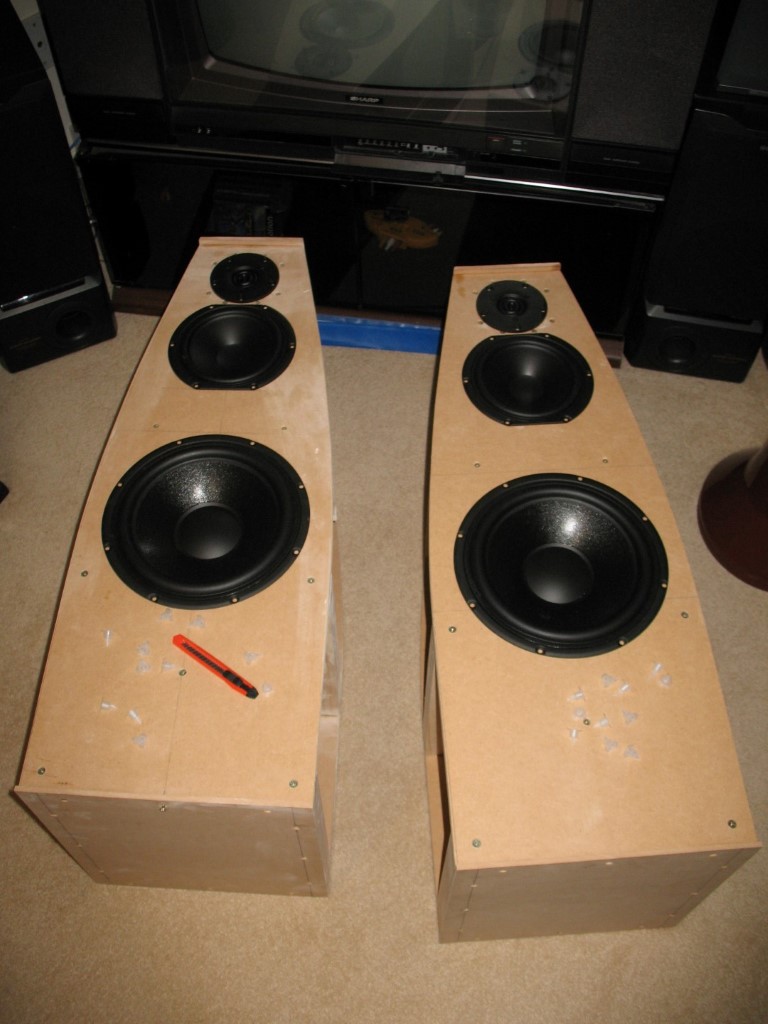
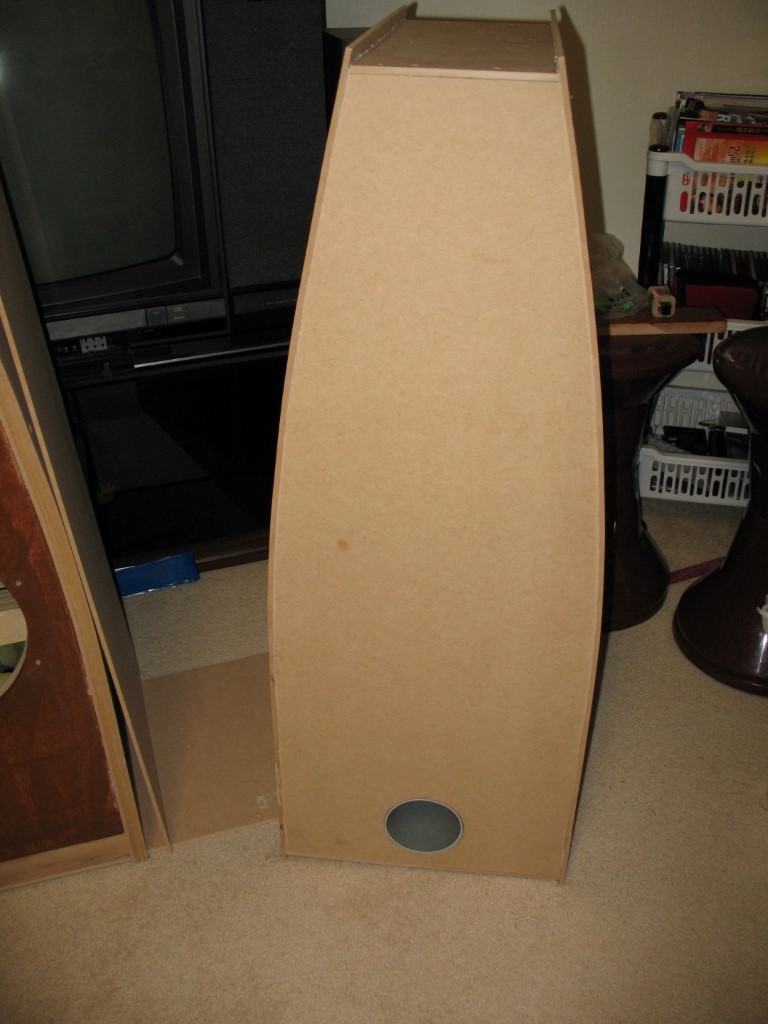
This is how my speakers turned out, and I was very pleased with both the looks and sound of them. I've since added black cloths front covers to make the look a little more "living-room friendly".
I selected Peerless 12" drivers for the woofer, Peerless 6.25" drivers for the midrange and Vifa radial tweeters. My design put the woofer in a back-ported bass reflex cabinet, with the midrange and tweeter in separate sealed enclosures within the overall speaker cabinets.
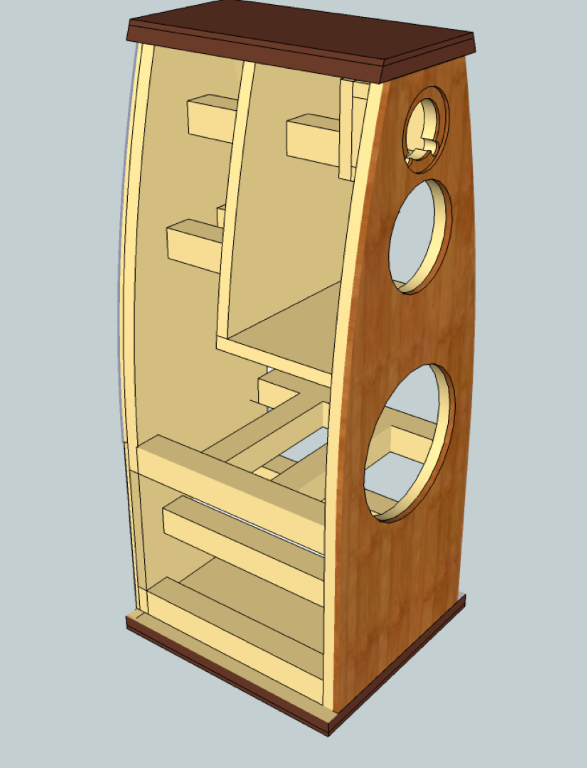
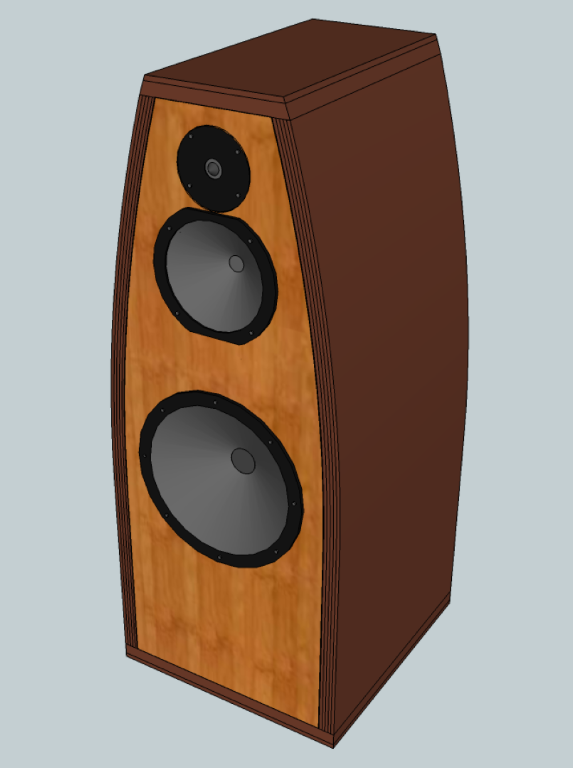
From the frequency response and impedance curve for the drivers, I used enclosure modelling software to calculate the internal dimensions, volumes, baffle areas and positions, including diffraction and boundary simulation and padding required for an eventual flat frequency response. I also modelled the crossovers to provide a flat response with a slight bass boost.Then I used Google SketchUp to model how I wanted the speakers to look, and the internal design and dimensions needed to achieve the correct volumes and response for the various driver enclosures.
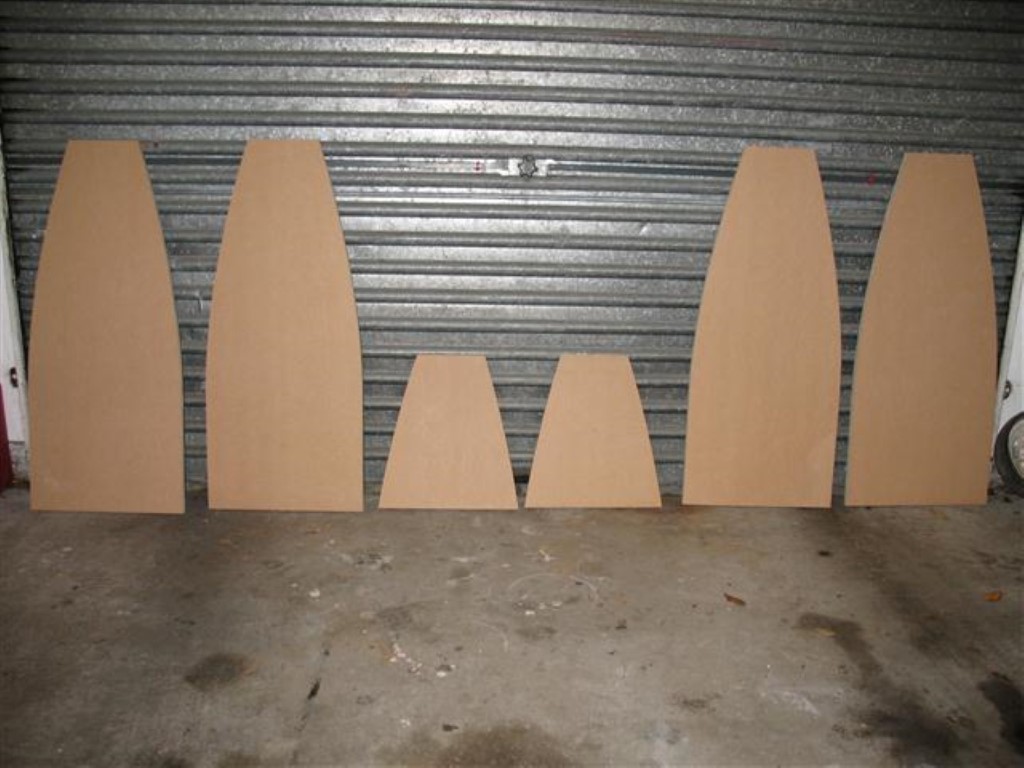
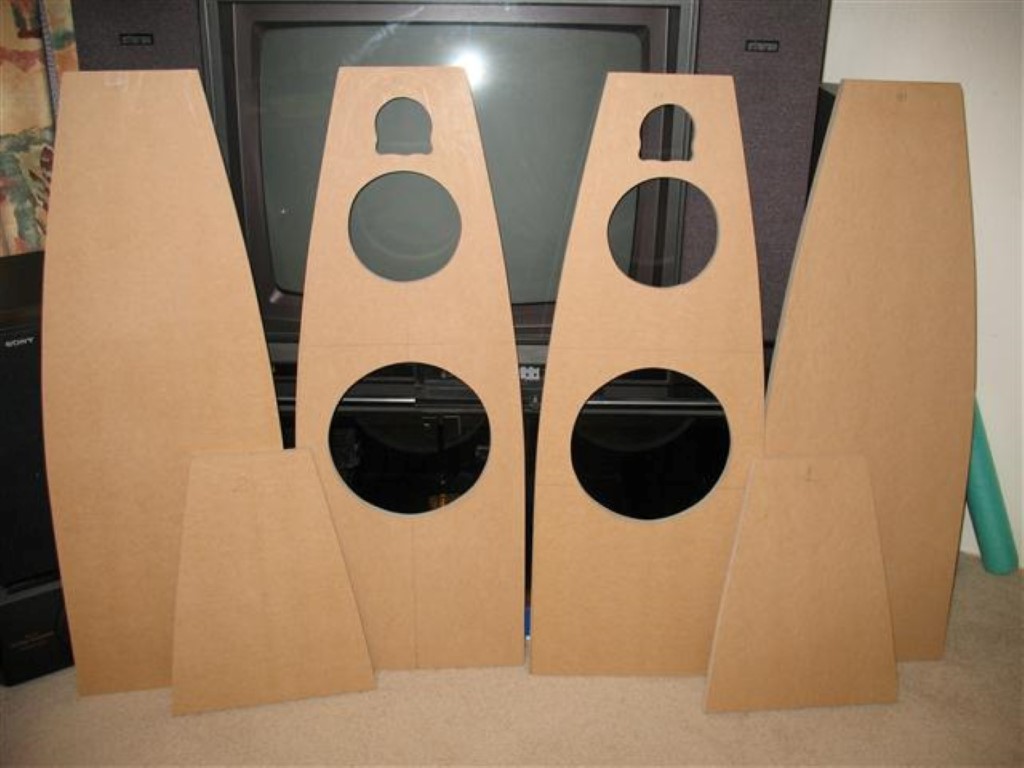
Using a jigsaw I cut out the front, back and internal panels from 18mm MDF. I cut the holes for the drivers in the front panels, using a router to recess and chamfer the edges of the driver holes.
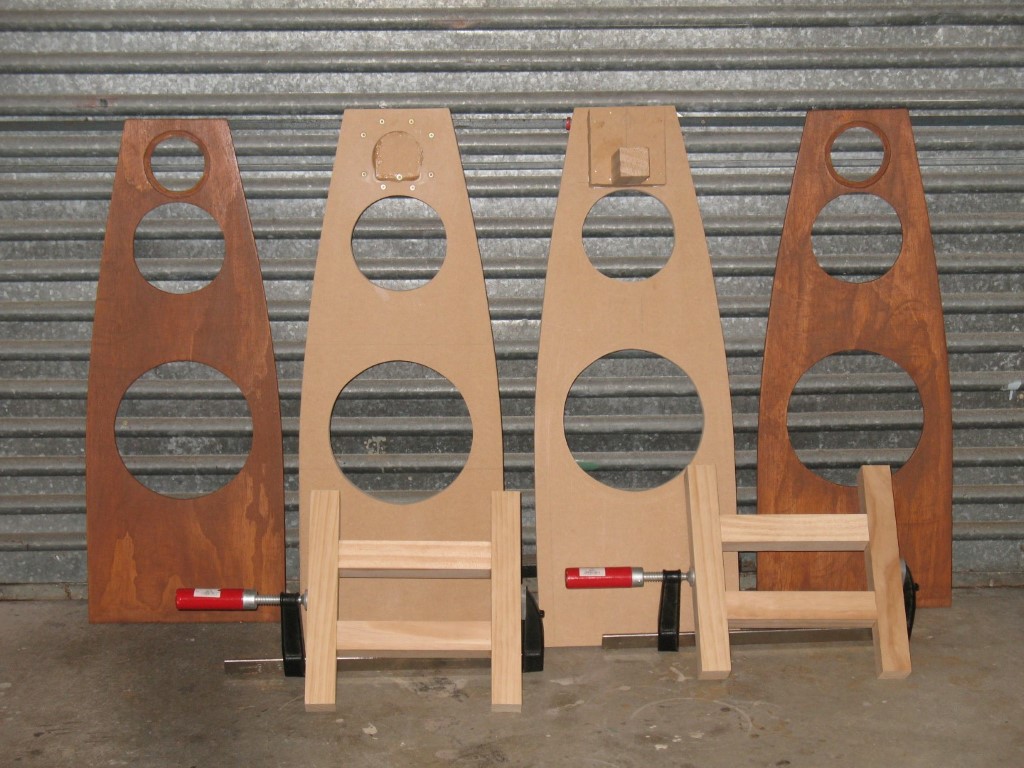
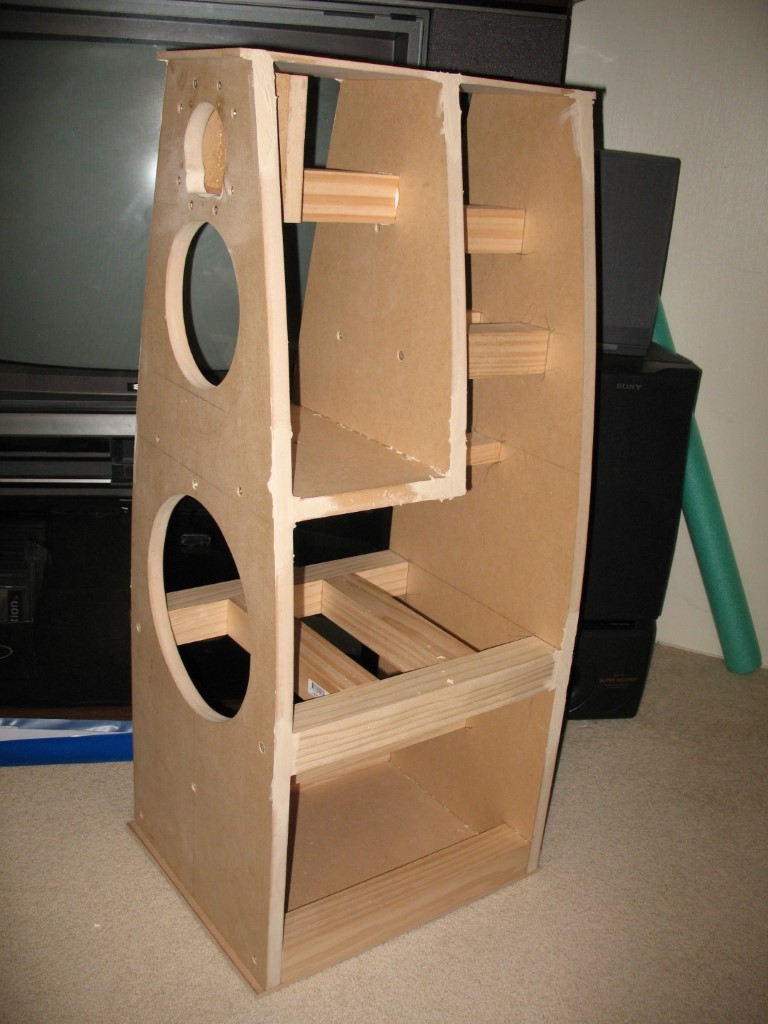
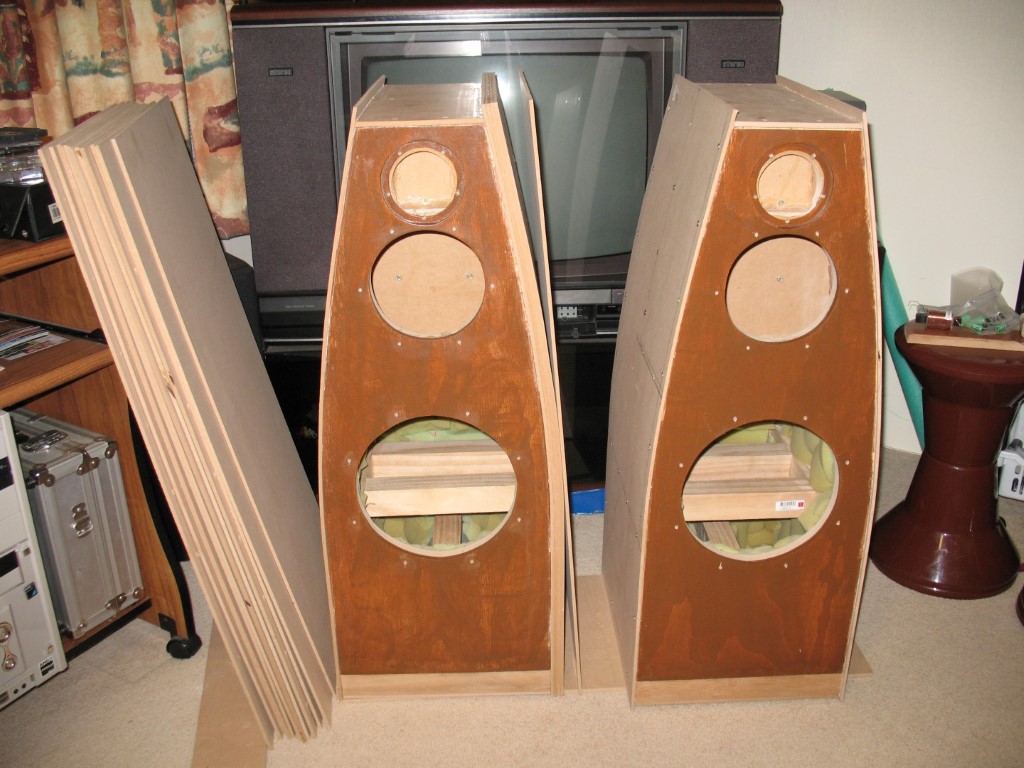
I made a second front baffle from 12mm plywood, to provide additional rigidity for the drivers, and stained it to give a more natural wood look. I then began construction of the internal framing and sealed internal enclosures.
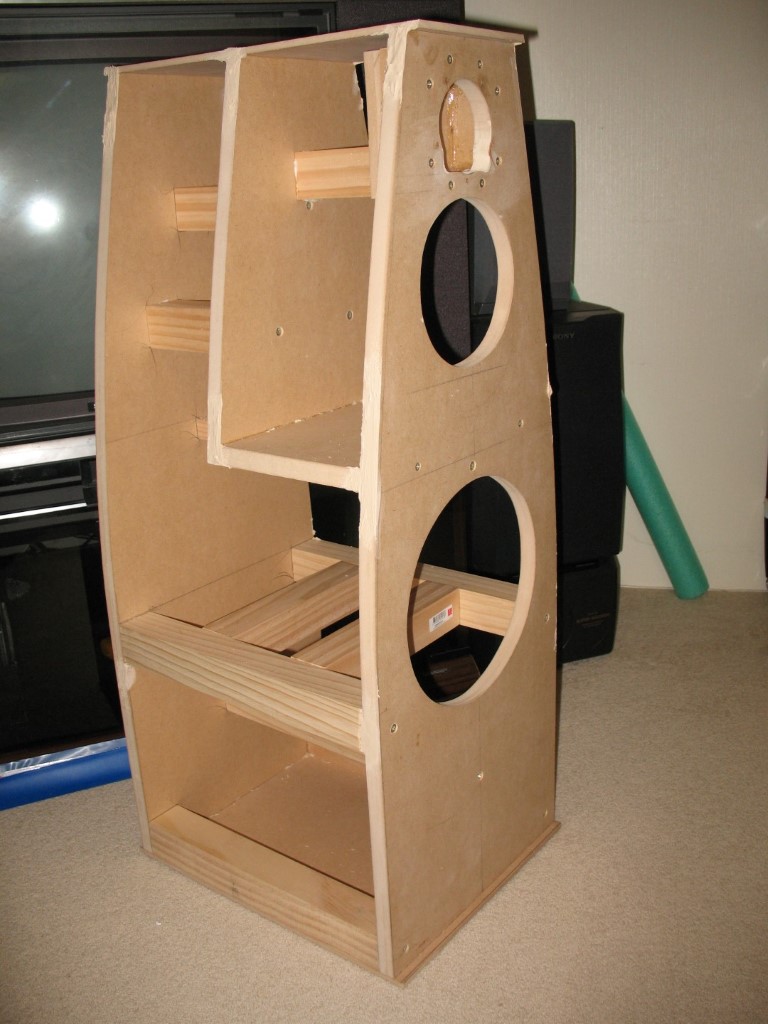
This seemed a good time to check that the speaker drivers would fit snugly into the front panel holes.
After gluing on the front plywood panel, I screwed and glued a sheet of 5mm MDF to each side of the cabinets, curving it around the cabinet structure and leaving enough space for the top panel to be fitted later. I then glued a further four sheets to each side, to form a 25mm curved laminate.
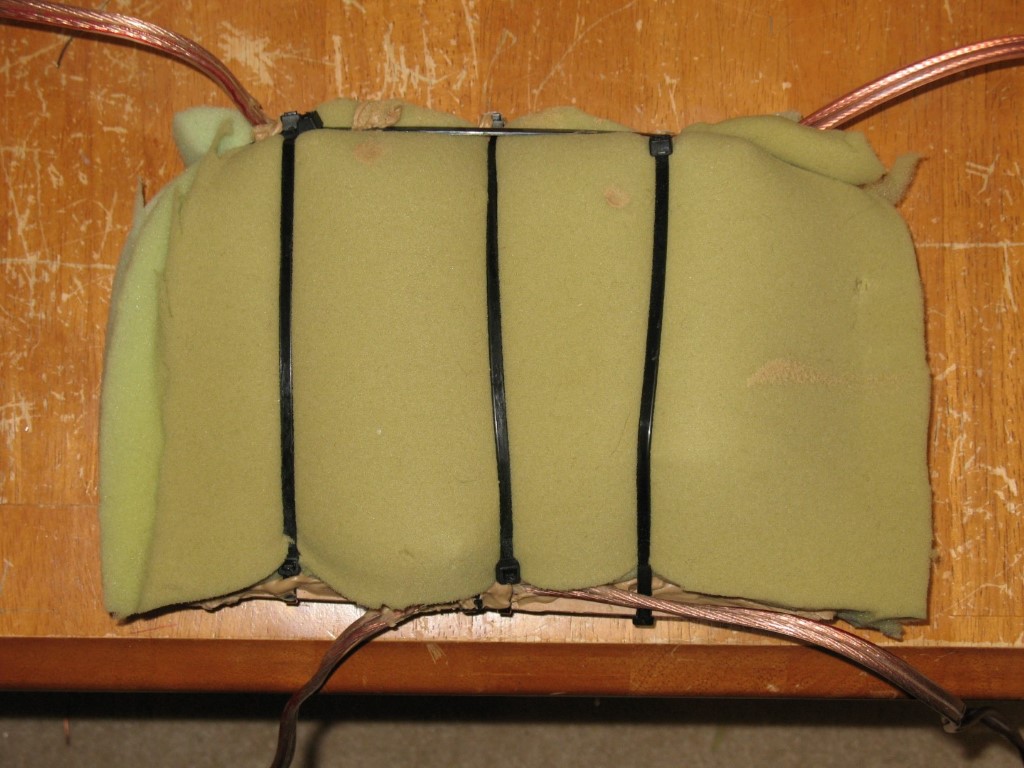
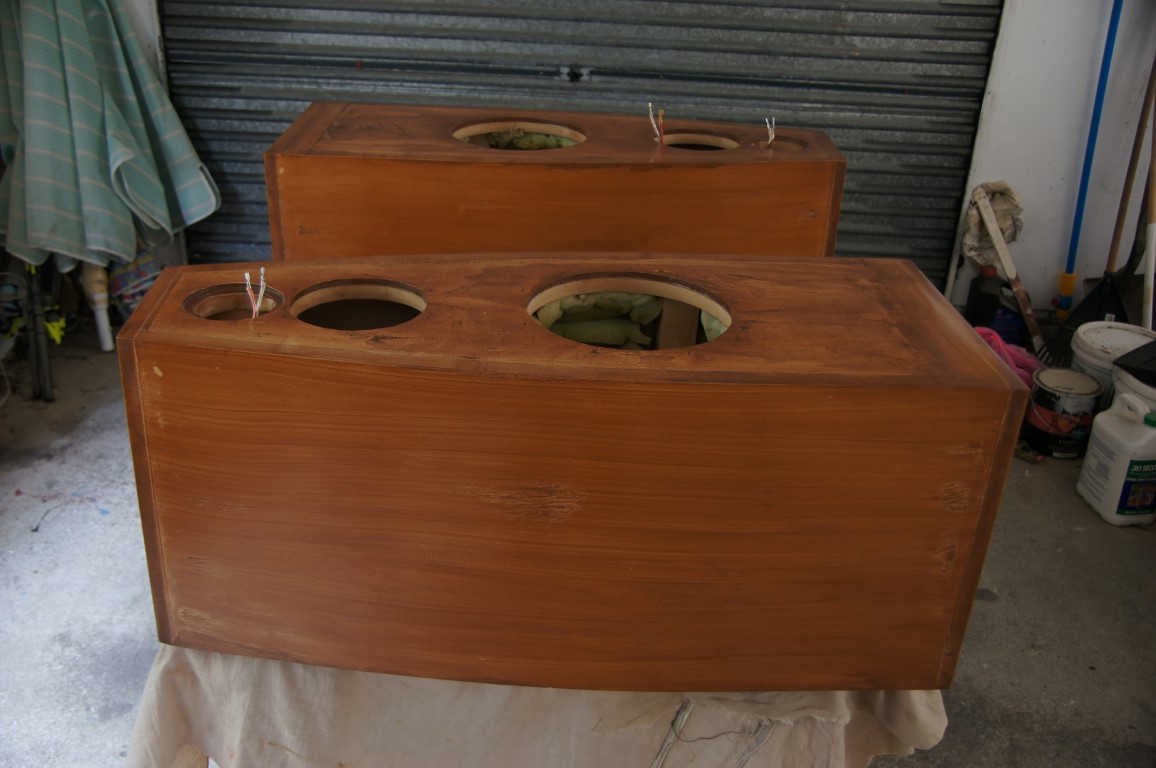
After sanding the front, back, top and bottom edges of the laminates flush, I lined the interior of the bass cabinets with some foam taken from an old mattress, to provide the required level of damping as per the enclosure modelling.

Using a hole cutting saw, I cut a holes in each back panel and fitted a length of PVC pipe for the bass reflex port. The length and diameter of the pipe were calculated from my enclosure models.
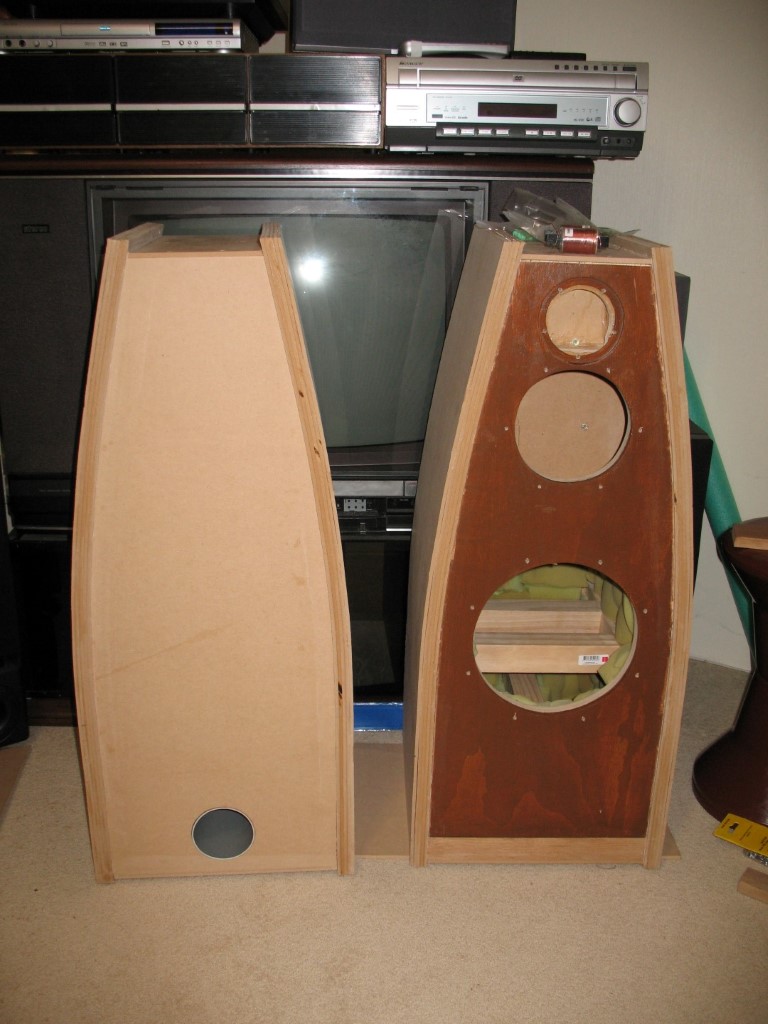
I also drilled the holes in the back panel for the speaker connection plates.
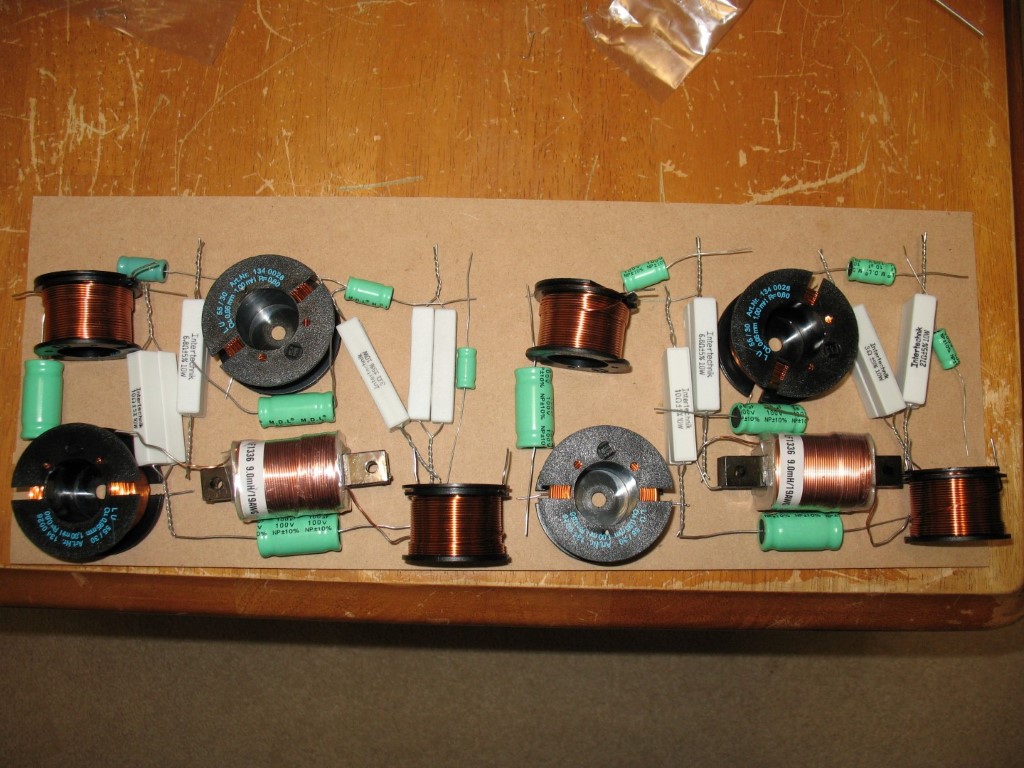
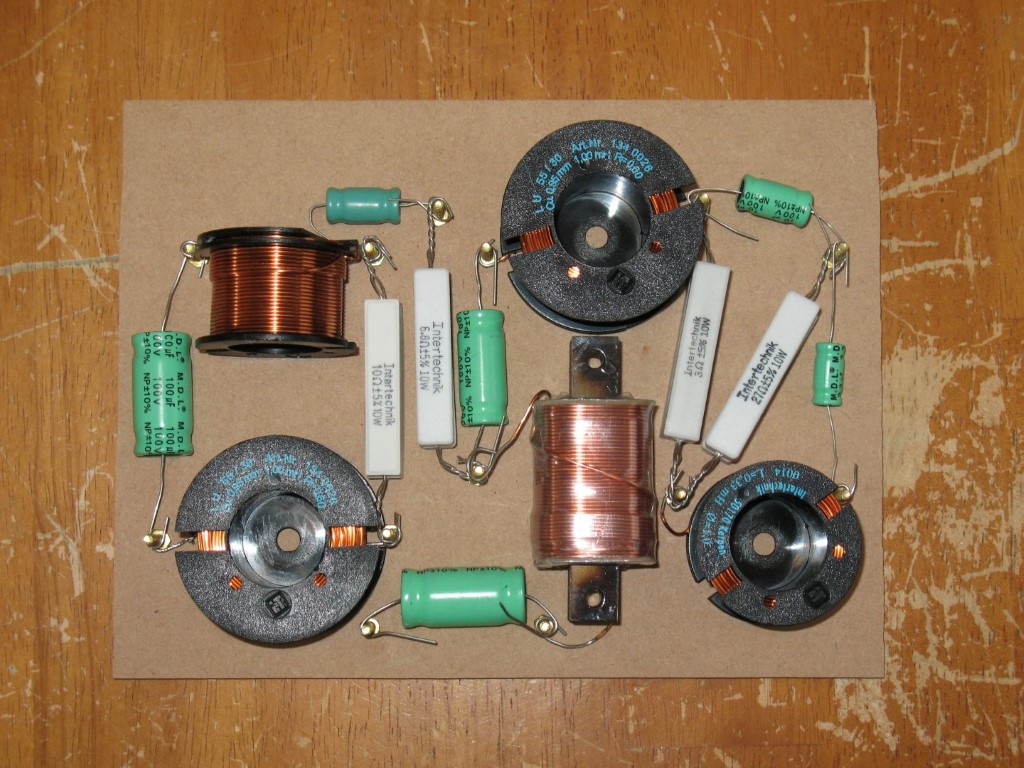
I laid out the crossover components on a piece of 5mm MDF. I then drilled holes and inserted some brass screws at the points where the component leads needed to be connected. I soldered lugs to the component and speaker leads, and used brass nuts to screw them together on the brass screws, to allow for easier replacing components if needed.
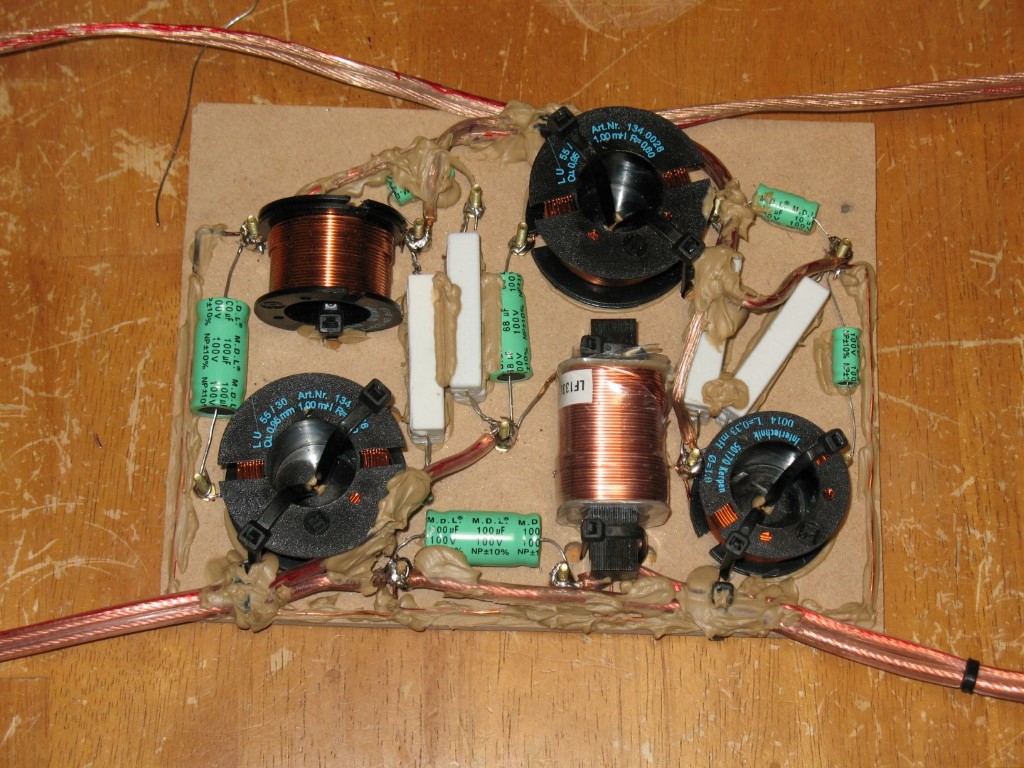
I glued the components down to help avoid them loosening from bass vibration. Then I wrapped the crossovers in foam to help reduce any microphonic interference. Not the neatest job, but it does the trick.
After gluing in the MDF top panels, I used a rag to wipe on a few layers of wood stain to get a wood-grain like finish on the MDF. Once this had dried, I gently sanded and then rubbed in several coats of Danish Oil until I had the finish I wanted.
Finally, I fitted the speaker drivers and the connection plates, connected up the crossovers and began testing the speakers. I had to make a few adjustments to the crossover components to get the sound I wanted, but I am very pleased with the end result and these are now my main hi-fi speakers.